Light up your room with Magical Window Stars!
by Floris Books • 24 February 2022 • Crafts & Activities • 0 Comments
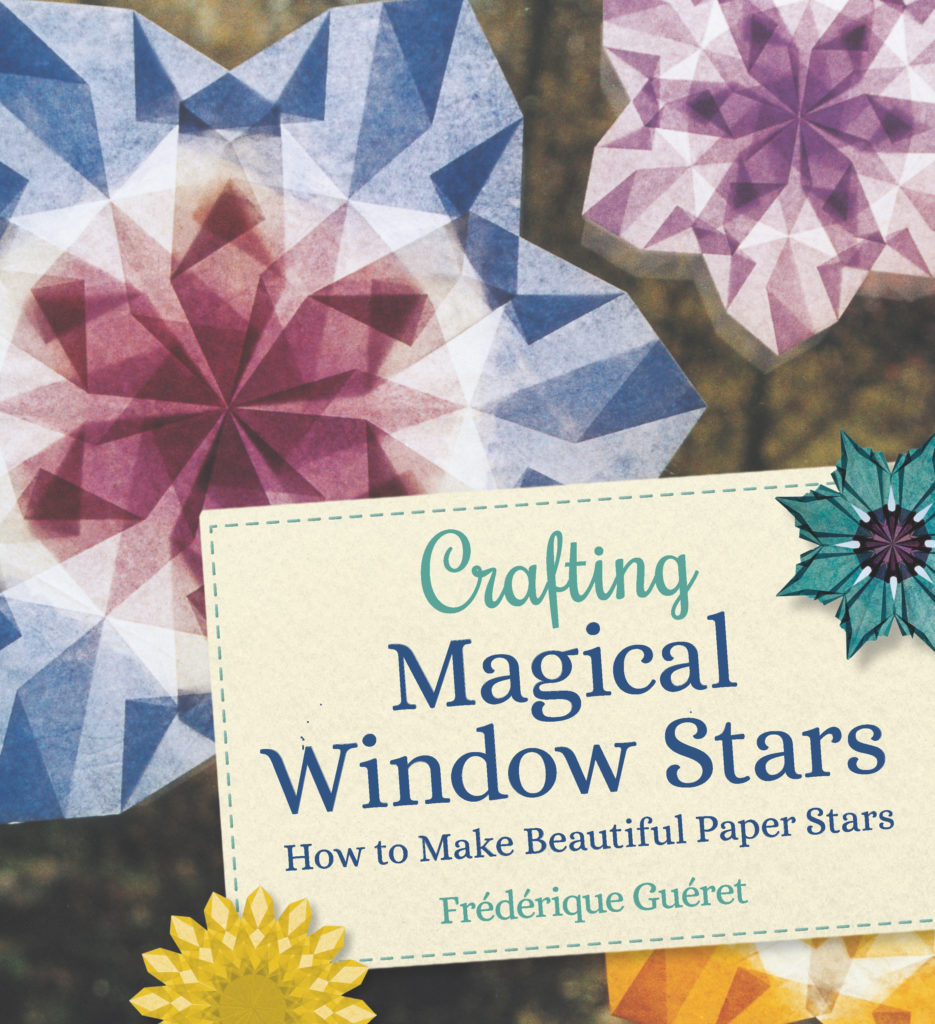
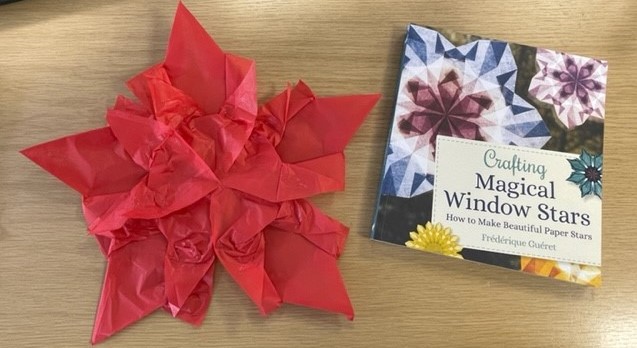
In Scotland we can have sun, rain, snow and wind all in one day! With the help of our new book Crafting Magical Window Stars by Frédérique Guéret crafters of all levels of expertise can learn how to make magnificent tissue paper window stars. This easy-to-follow guide complete with detailed instructions and intricate diagrams can help you brighten up your day whatever the weather is doing outside.
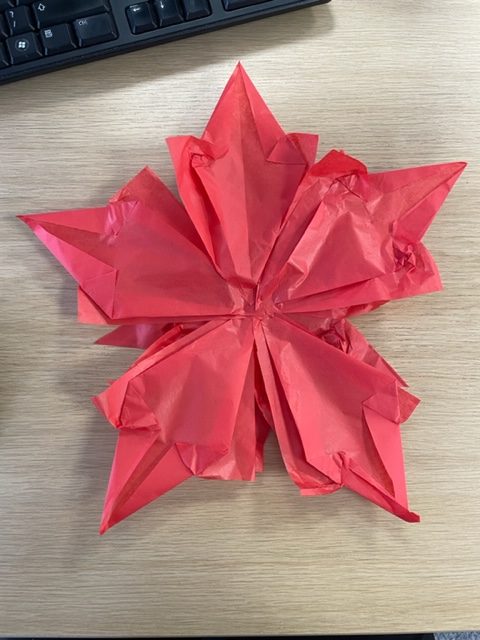
At the Floris office we decided to make sure that the view is always sunny – at least out of one window – by using this fantastic book to craft a star. Along with step-by-step instructions on how to create a Morning Star (exclusively from Guéret’s book) we’ve included photos of our efforts – to prove that even inexperienced crafters can make a gorgeous star!
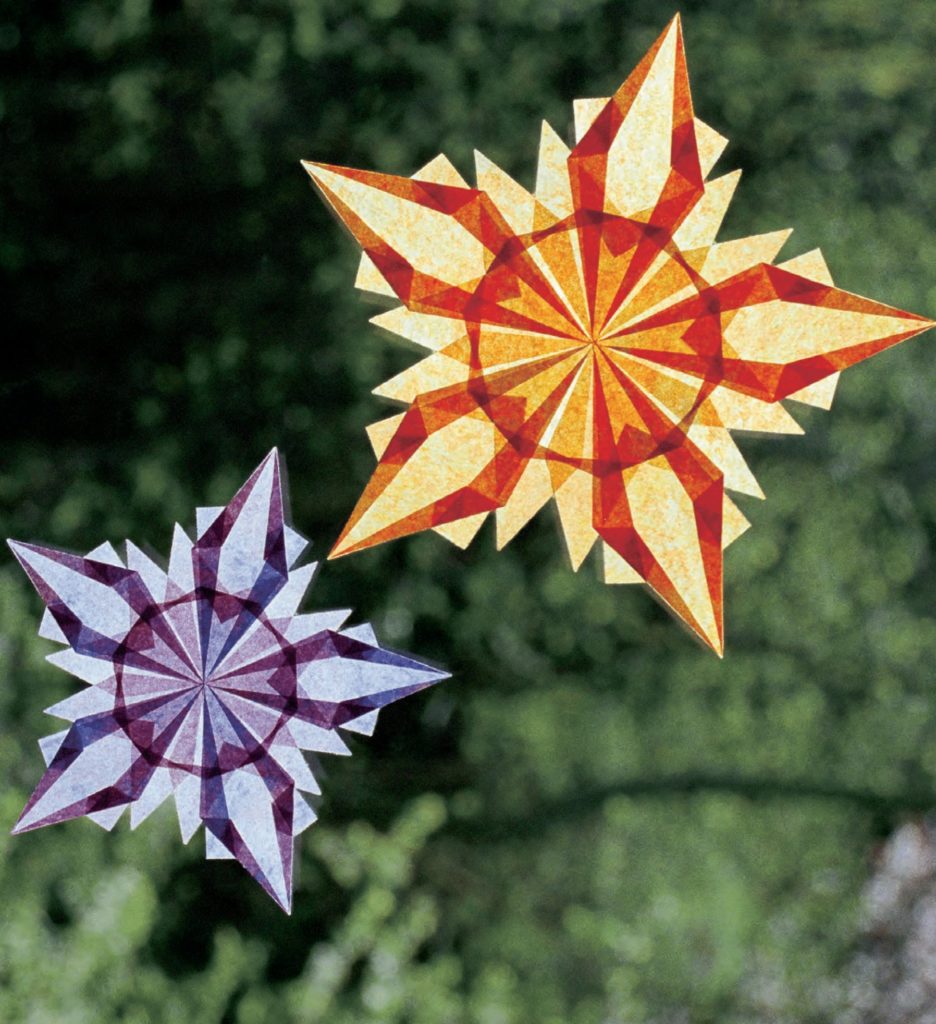
This is a simple pattern to get started with and perfect for this time of year. Mornings are getting lighter but the sun still hides behind the clouds so cast shimmering rays of early morning sun across your room with your very own magical window star.
You will need:
- 1 sheet of standard sized tissue paper in single or different colours (50 x 70 centimetres in the UK and Europe and 20 x 28 inches in US)
- Scissors
- Ruler (to double check sizes if you wish)
- A scalpel or craft knife
- Clear-drying craft glue
- Wooden stick
- Clear adhesive tape (for sticking your star to the window)
Step 1: Creating Squares and Triangles for Your Star
- Firstly, you will need to create 8 square sheets of tissue paper. For this star you will need squares of 12.5cm in height (pattern 9 according to the book).
- Fold your standard sized sheet of tissue paper in half and cut down the middle.
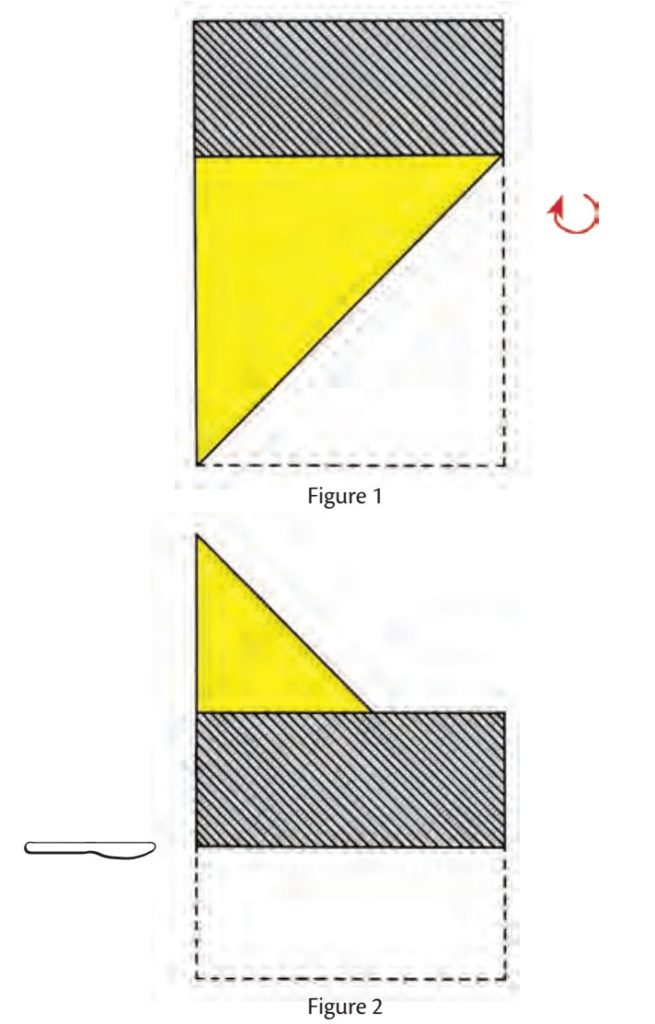
- Fold a triangle from the bottom right-hand side over to the left straight edge as displayed in Figure 1 and cut the rectangular edge as show in Figure 2. This will leave you with two squares.
- Fold both squares in half and half again. Unfold and cut down the middle to leave you with two separate rectangles with folds down the middle.
- Cut down the middle of the folds on both rectangles to leave you with 8 square sheets of equal sized tissue paper.
- Fold 3 square sheets in half diagonally and cut the fold-line to leave you with 6 triangles. You will only need 5 for this star!
Step 2: Making the Base of Your Star
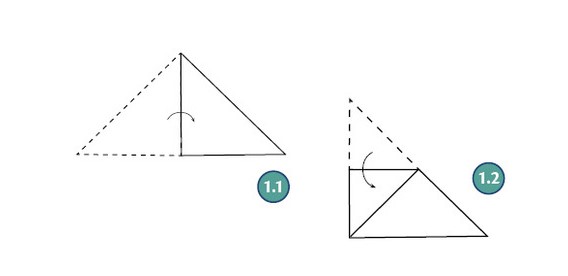
- Take the 5 triangles and complete the two preparation folds as shown in Figure 1.1 and 1.2. Unfold.
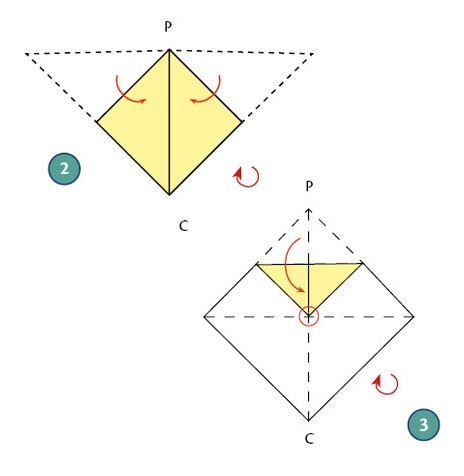

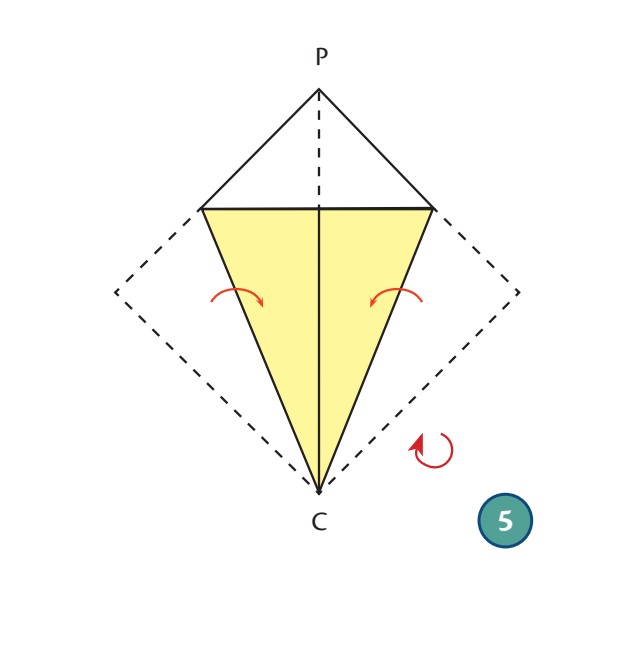
- Fold the pointed edges (P) to the centre fold-line (C) to create an almost diamond-like shape.
- Fold the top point of the shape down to the centre fold-line and glue. Turn the shape back over.
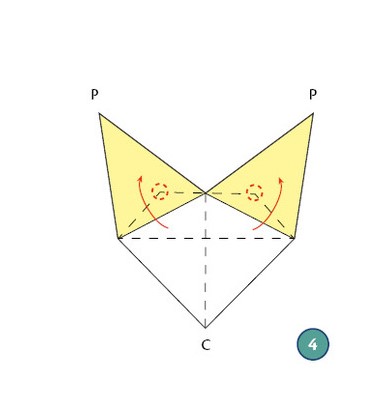
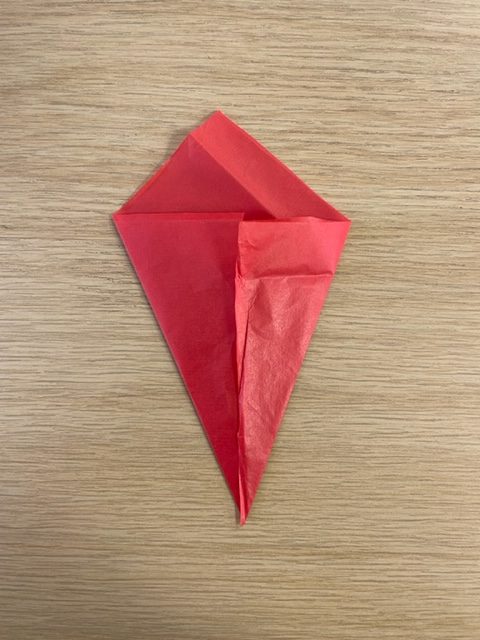
- Fold both flaps back as far as possible and glue the marked points as shown in the image above. Remember to use a wooden stick to be precise with the glue as this step is quite fiddly. Repeat this process with all remaining triangles until you have 5 shapes ready to use. You are almost there!
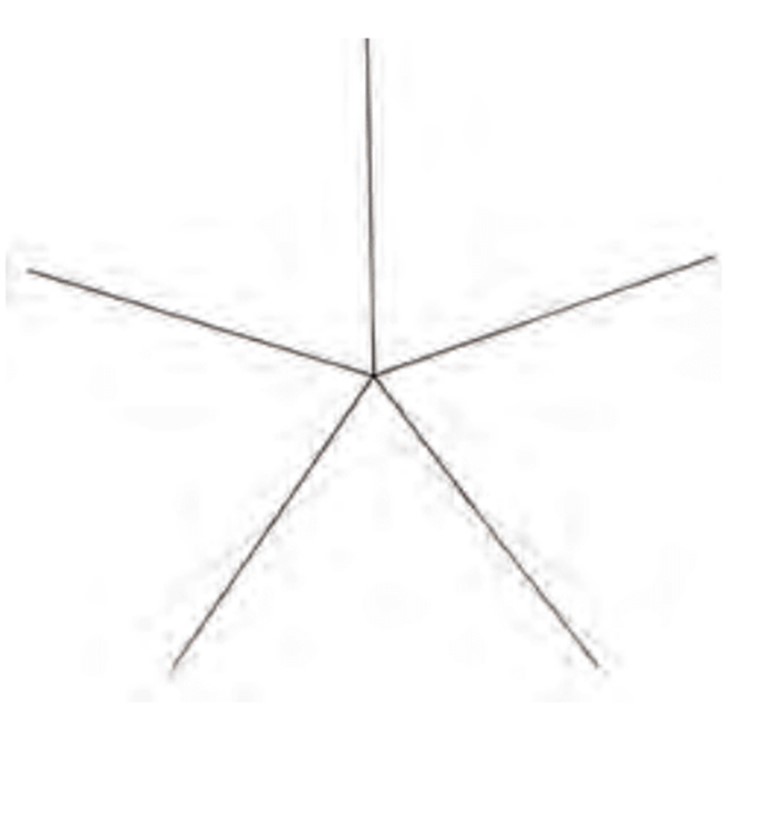
ASSEMBLING THE TRANSPARENCY: Make a copy of the five-point diagram above on the left and print it out. Assemble the shapes with their centre points along the diagram lines. Glue the points together carefully and you will now have the base for your star. Set this aside for later.
Step 3: Giving Your Star its Points
- Use the remaining 5 square sheets and fold a single diagonal fold-line on each of them then unfold. Fold as shown on the image above making sure the sides meet and turn each shape over.
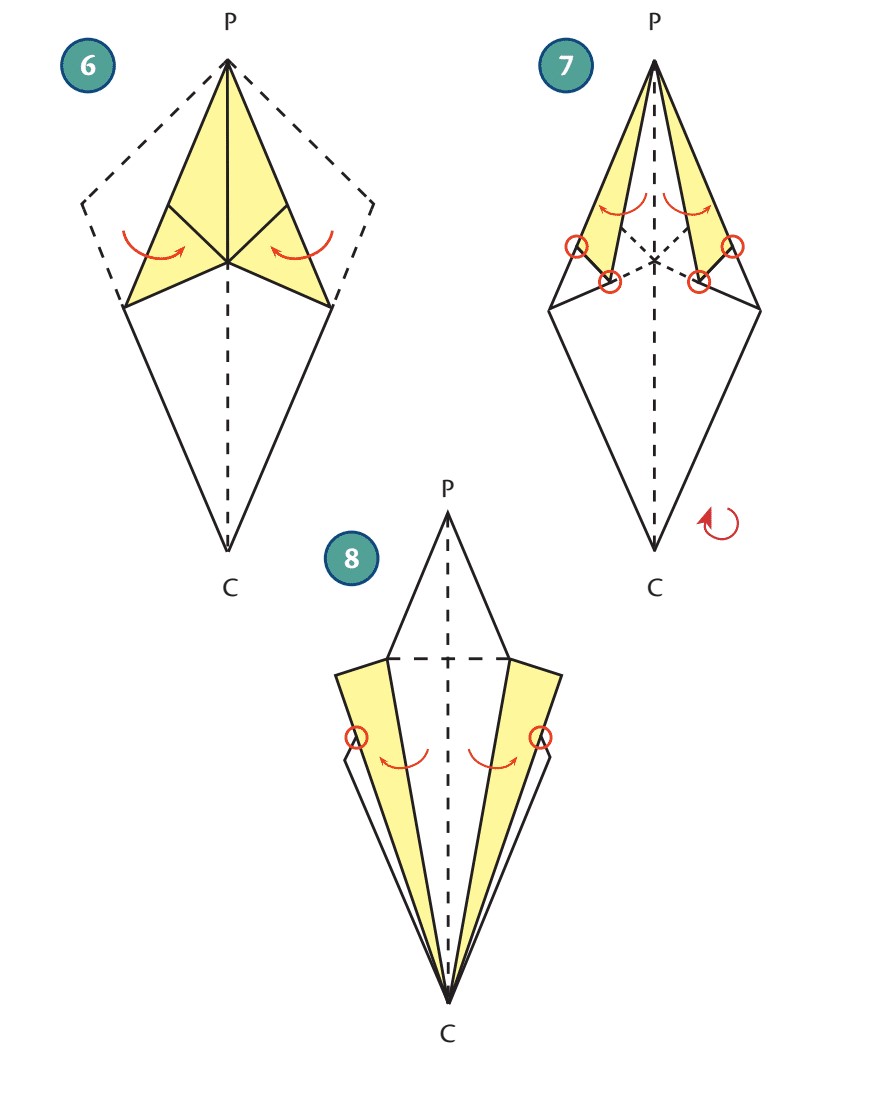
- Fold the two sides of the top point (P) inwards on the reverse side as shown in Figure 6 on each of the shapes.
- Re-fold the sides making sure there is a small gap in the middle and glue down the marked points in Figure 7. Turn each shape over.
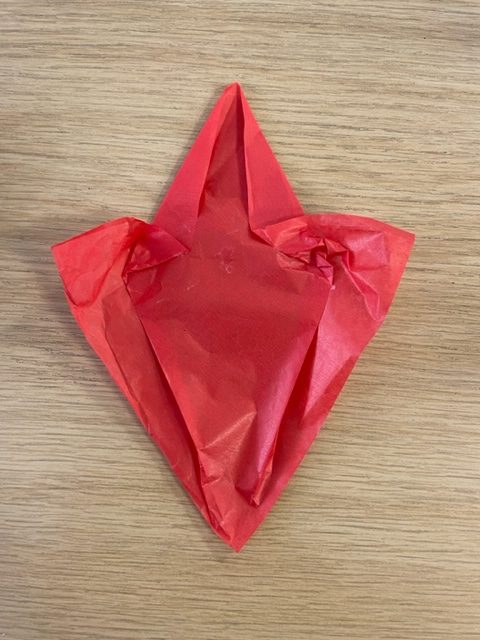
- Fold out the flaps as shown in Figure 8 and smooth the creases of the folds. Glue down at the marked points so you have a shape similar to that on the right.
Step 4: Assembling Your Window Star
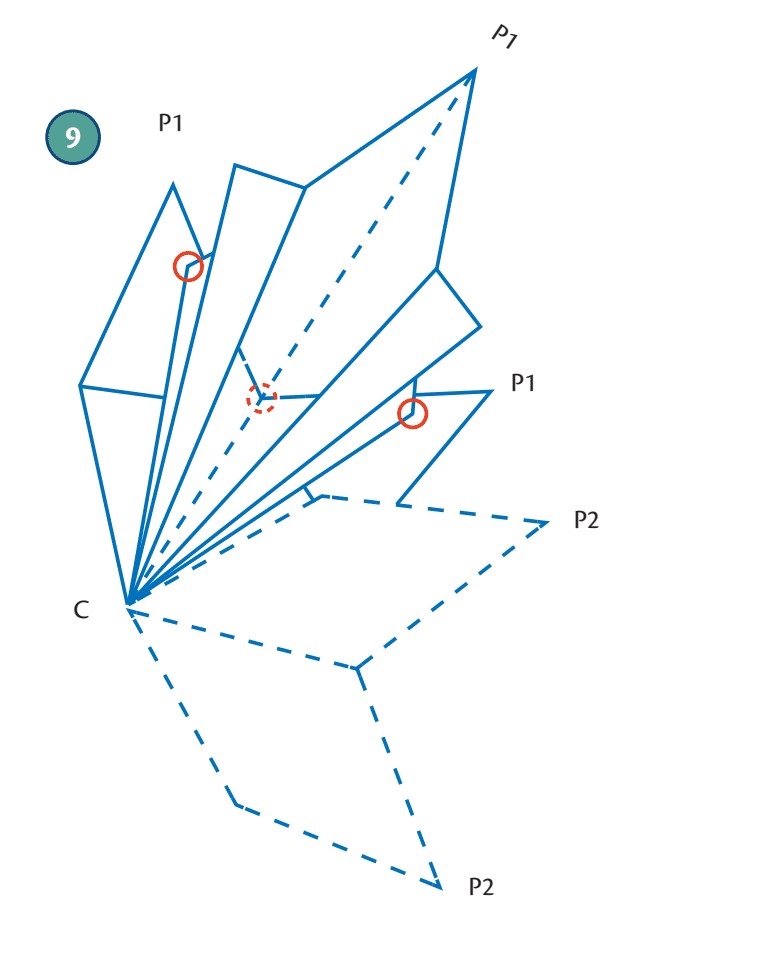
- Place the centre (C) of each point onto the centre of the base. Make sure the centre fold-lines are exactly on top of each other. Turn your star over and glue the concealed marked points as shown in Figure 9. To make it extra sturdy glue the centre points onto the base of your star!
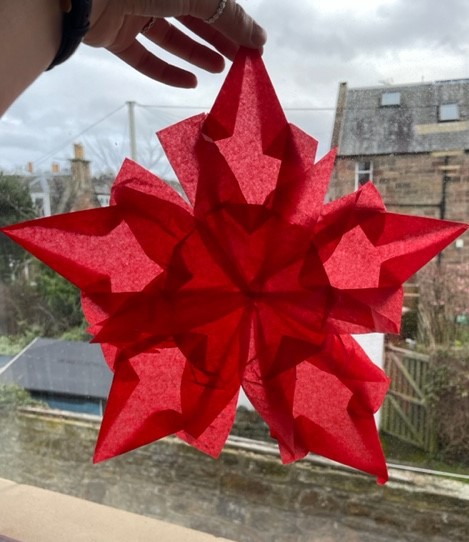
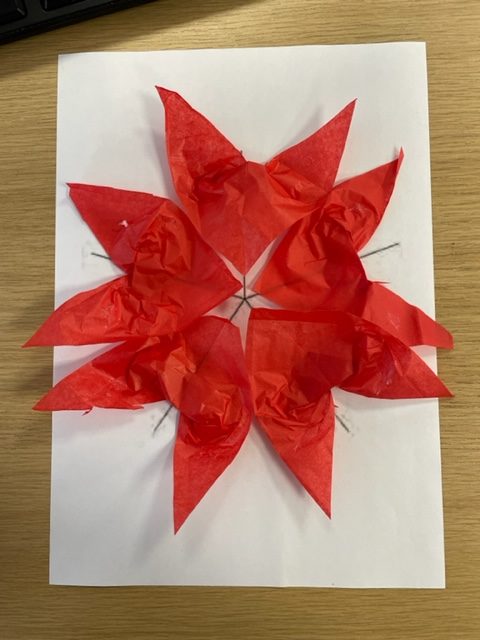
We hope you enjoyed this tissue paper crafting project! Pop your magical star on your window like we did and admire your hard work and the beautiful colours!
Please do share your wonderful morning stars with us on social media using the hashtag #MagicalWindowStars – we would love to see your creations lighting up windows all around the world!
Discover more of our wonderful crafting books:
Crafting a Felt Farm: A Waldorf Project for All Ages by Rotraud Reinhard
Magic Wool Mermaids and Fairies: How to Make Seasonal Standing Figures by Christine Schäfer
Crafts Through the Year by Thomas and Petra Berger