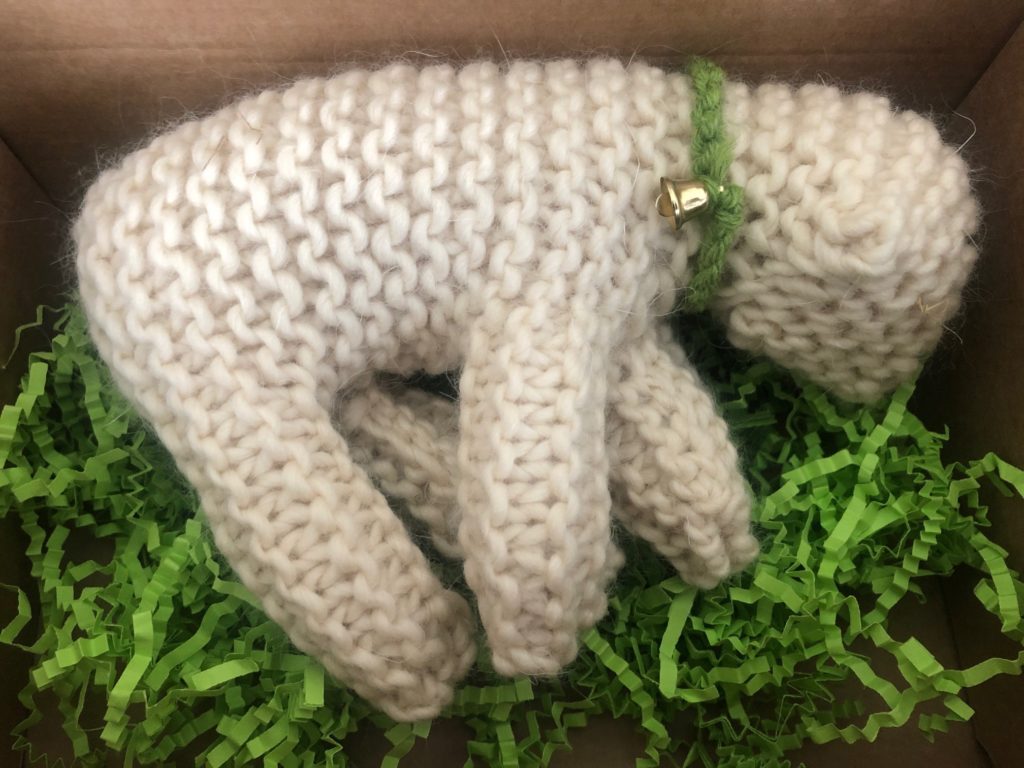
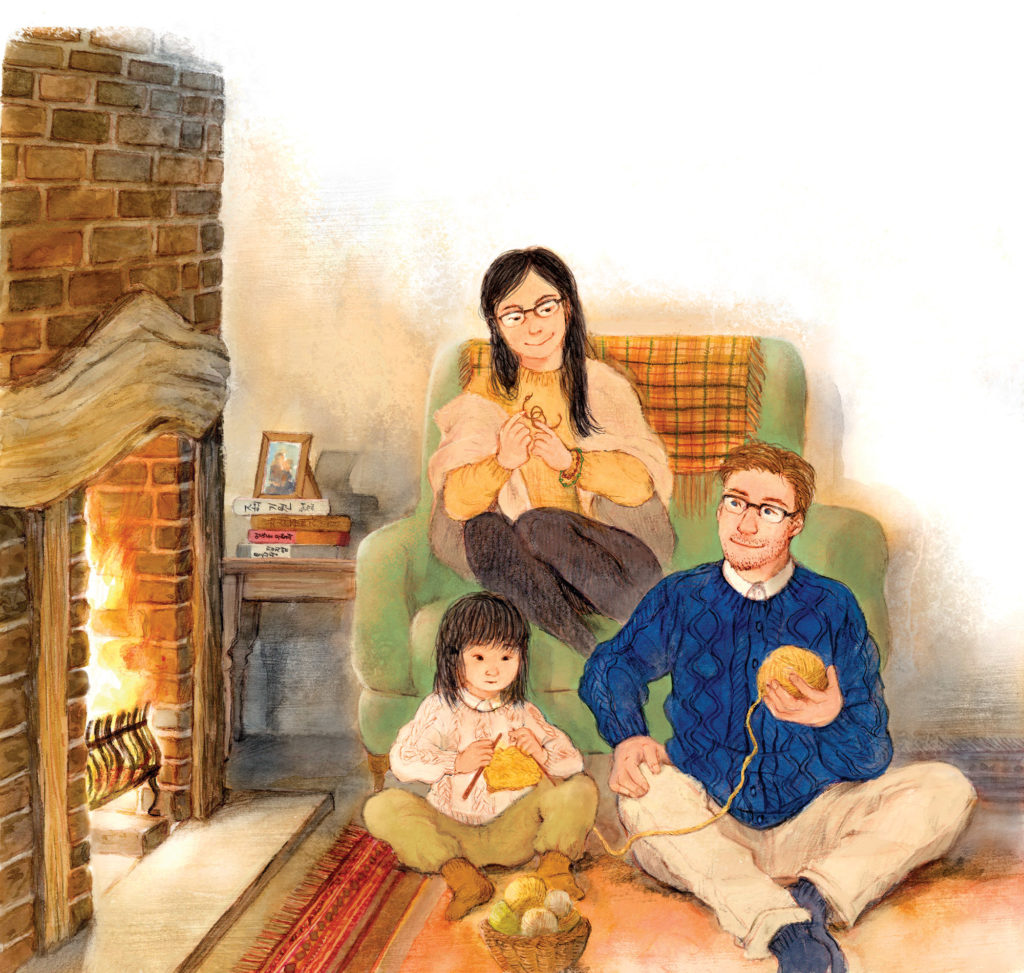
Learn how to knit a little lamb!
by Floris Books • 21 July 2020 • Crafts & Activities • 0 Comments
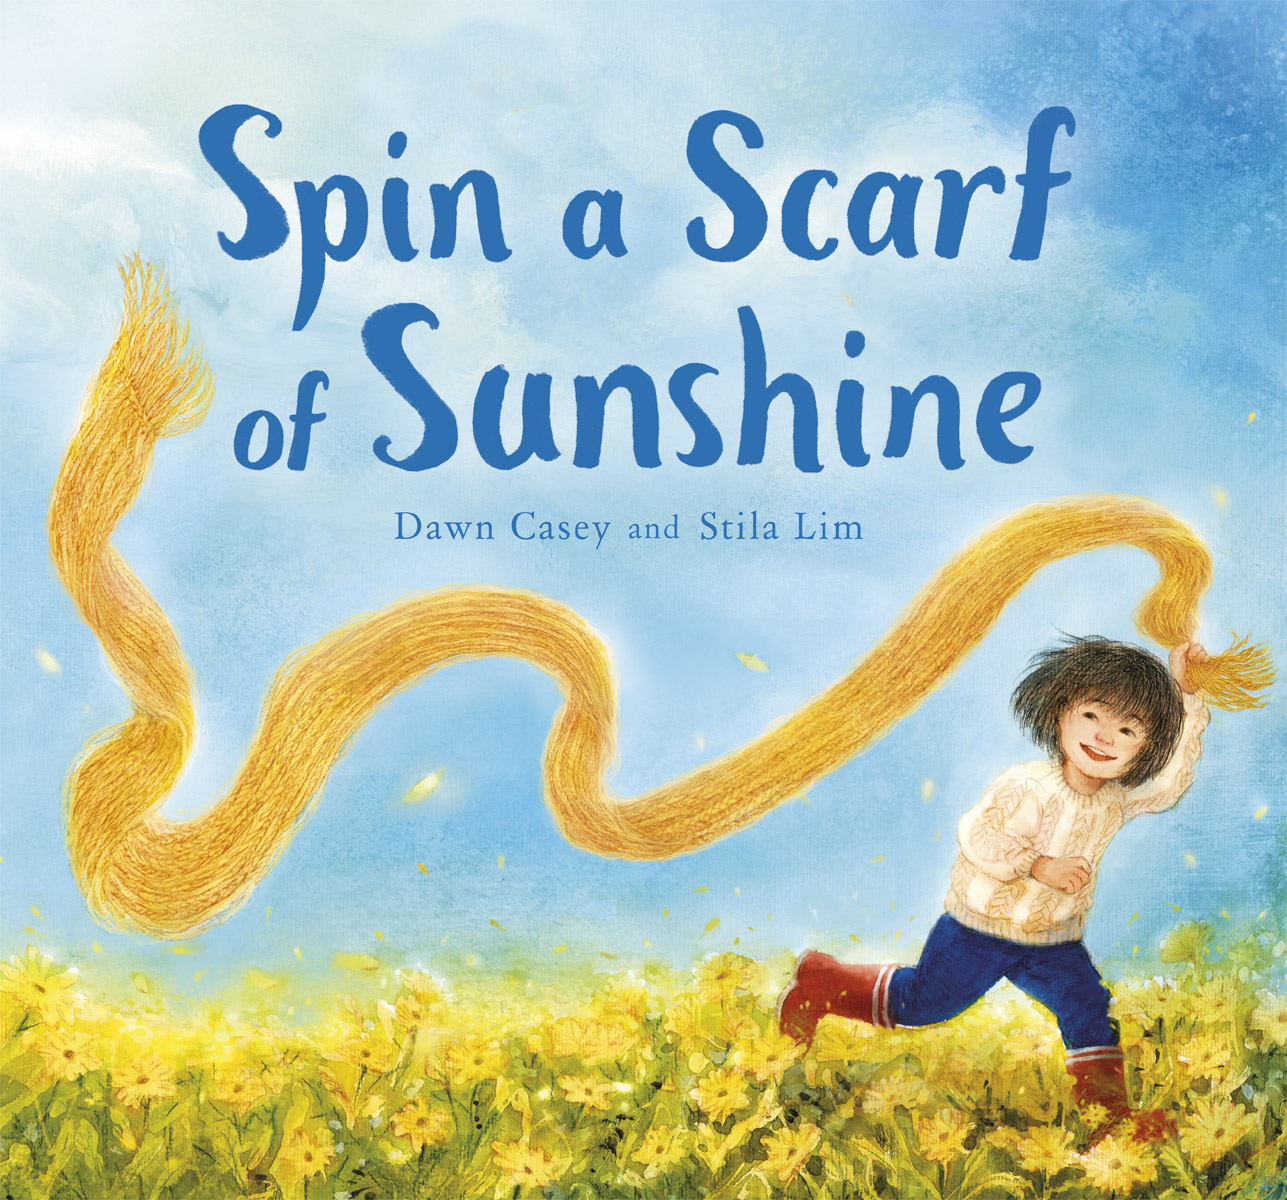
Spin a Scarf of Sunshine by Dawn Casey and illustrated by Stila Lim encourages young children to engage with the wool life cycle and understand the basics of traditional crafts of natural spinning, dyeing, knitting and gardening.
Here, Dawn shares with us step-by-step instructions for knitting a lamb of your own!
A pattern for grown-ups and children who can knit
You will need:
- Needles: 6mm (US size 10)
- Yarn: A ball of ‘chunky’ weight woollen yarn
- Stuffing: wool roving
Instructions
1. Cast on 36 stitches.
2. Knit 14 rows. These will be the lamb’s back legs.
3. At the beginning of the next row, cast off 8 stitches.
4. Again, at the beginning of the next row, cast off another 8 stitches. The lamb’s back legs are now complete.
5. Now you have 20 stitches on your needle. Knit 16 rows. This will be the lamb’s body.
6. At the beginning of the next row, cast on 8 stitches.
7. Again, at the beginning of the next row, cast on another 8 stitches.
8. Now you have 36 stitches on your needle.
9. Knit 14 rows – this makes the front legs.
9. At the beginning of the next row, cast off 11 stitches.
10. Again, at the beginning of the next row, cast off another 11 stitches. The lamb’s front legs are now complete.
11. Now you have 14 stitches on your needle. Knit 20 rows to make the neck and the head.
12. Cast off.
13. Now stitch the lamb together:
Sewing up:
14. Fold each leg piece in half lengthwise. Stitch the long open edges of each leg together, starting from the foot end and moving up to the top of the leg.
15. Stuff the legs: wind a wisp of roving around a knitting needle to create a leg-shaped piece of stuffing.
16. Fold the lamb’s body-piece in half.
17. Sew the body piece up: start sewing underneath the lamb’s tummy, at the back end, and sew all the way to the front of his tummy.
18. Stuff the body with soft wool roving.
19. Sew up the head: to shape the head, fold the head piece in half lengthways, so that it is long and thin. The cast-off edge is now folded in half – sew the two halves together along the cast-off edge. This helps make the shape of the ears. Now fold the sewn-up edge down to meet the top of the front legs.
20. Sew up the two side seams of the head and neck.
21. Stuff the head, neck and body above the front legs. Sew up the final seam.
22. For an optional tail, finger-knit a short chain and sew it in place.
23. Use your hands to mould your lamb into shape.
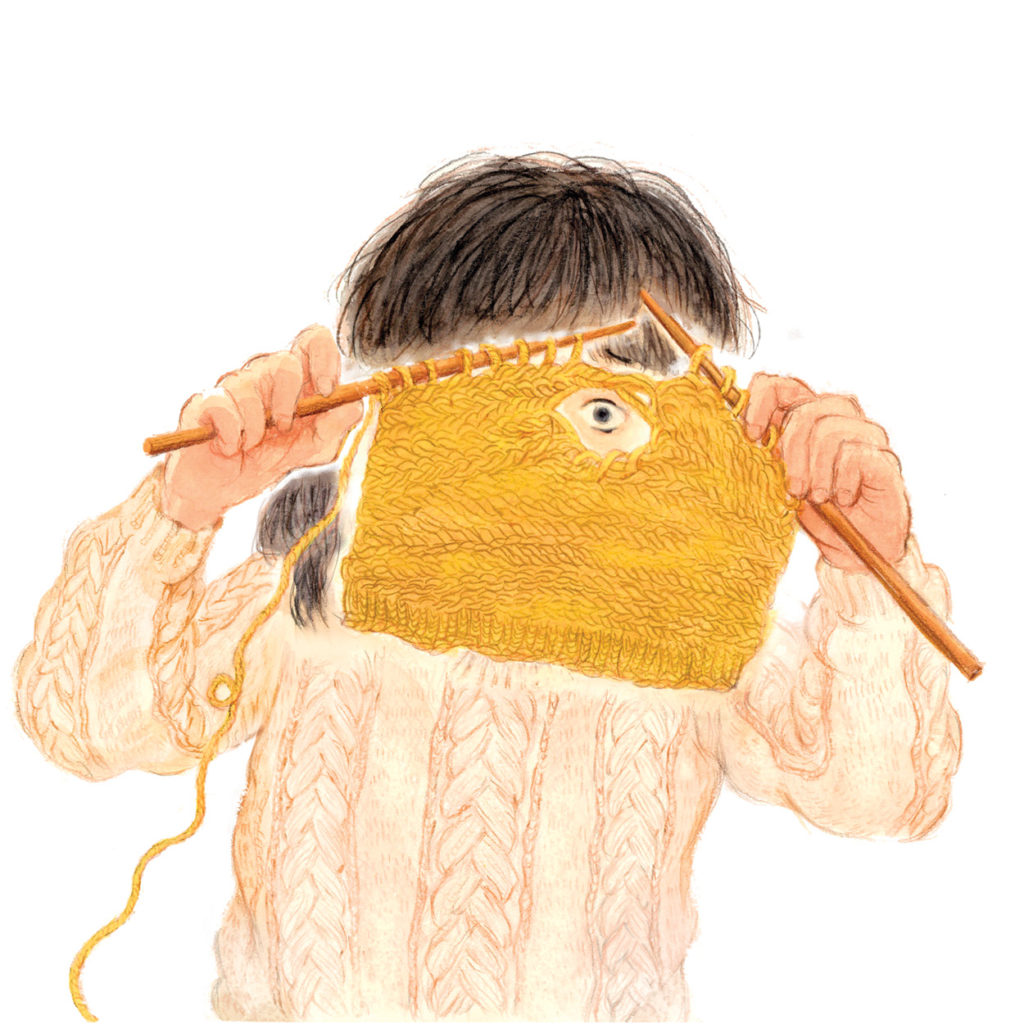
The lamb looks lovely just as it is, but if you want to add eyes, you can sew simple eyes using a stitch or two or embroidery thread.
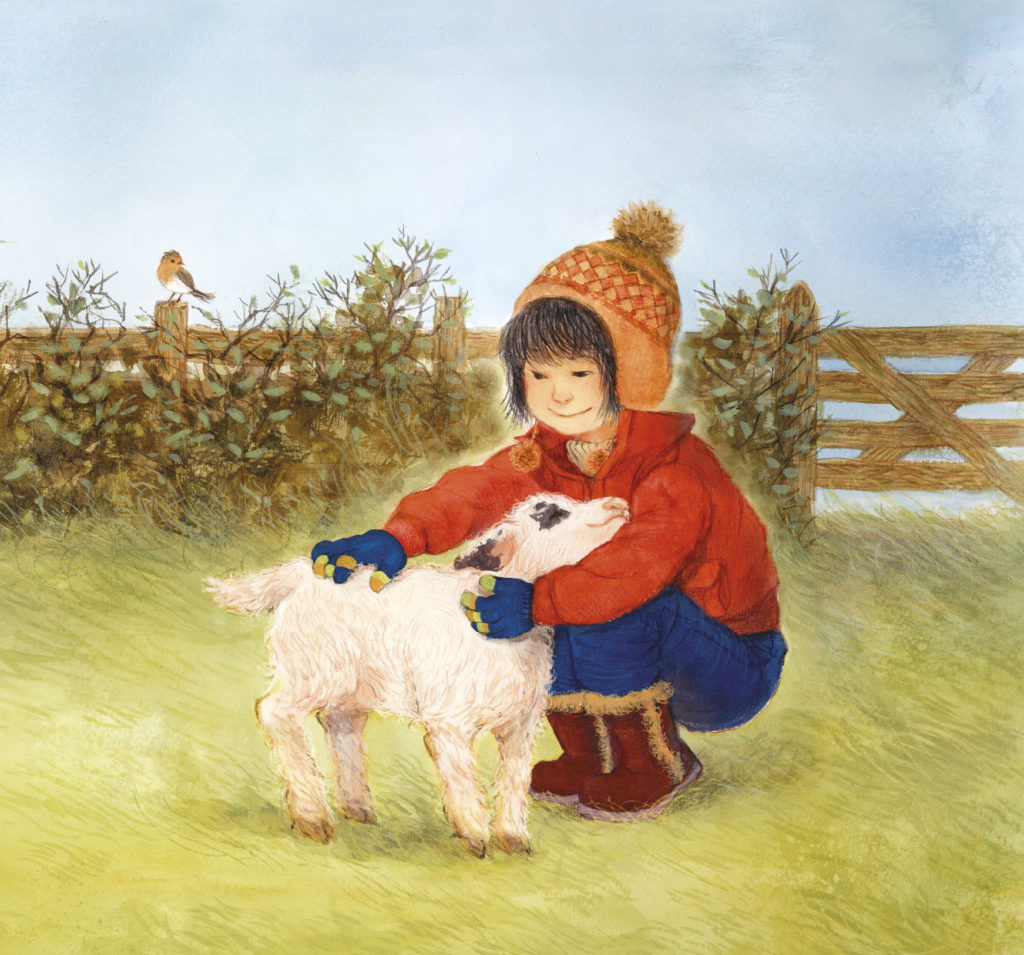
Note: This soft wooly lamb is not intended to stand up – he is especially for cuddling!
Finger-knit a collar for your lamb
A project especially for little ones
Finger knitting is an ideal introduction to wool crafts for young children. This simple story and rhyme will help children to remember the rhythm:
Finger-knitting Story
Once there was a shepherdess whose sheep loved to skip and leap. Every day the sheep played in the meadow. But at night, the sheep needed somewhere to sleep. So, the shepherdess built a snug round sheep pen, with a strong wooden fence. Now, at bedtime, the sheep sleep safe in the pen. And in the morning, one by one, they leap over the wooden fence, out into the meadow to play.
Finger-knitting Song
A fence for the sheep… over he leaps.
1. Make a slipknot near the end of the yarn and slide it onto your forefinger. This is your first loop (or sheep!).
2. Loop the long loose yarn around your finger again, in front of the original loop (making “A fence for the sheep…”)
3. Grasp the original loop (sheep) and ‘leap’ it over the front loop (fence).
(“… over he leaps.”)
4. Slide it off your finger, creating a stitch in the yarn hanging below your finger.
5. You may need to pull the “tail” to tighten the stitch.
6. Make another loop (“A fence for the sheep…”).
7. Leap the first loop over (“… over he leaps.”)
8. Pull the tail to tighten.
9. Repeat over and over and over!
(You can see the neat line of ‘sheep’ [stitches] who have leapt over the fence and are skipping, one after the other, out into the meadow to play.)
Soon you will have created a long chain of finger-knitting, perfect for a little sheep’s collar.
To finish, simply remove the loop from your finger, cut the chain of yarn from the ball of wool, leaving a short ‘tail’. Put the ‘tail’ through the loop and pull tight to tie off.
Thread a jingle bell onto the collar, and it is all ready for your lamb.
We hope you’ve enjoyed this knitting project!
We spoke to author Dawn Casey about Spin a Scarf of Sunshine, the importance of stories and her love of wool! Read the interview here.
Looking for more craft projects? Our books are bursting with inspiring ideas and step-by-step instructions to help you get crafty!
Click for more info on Knit Together, Share Together, Magic Wool Fairies and Crocheting Soft Toys.