How To Make a Warm, Woollen Scarf for a Wintery Day
by Floris Books • 14 October 2013 • Crafts & Activities, Steiner-Waldorf Education • 0 Comments
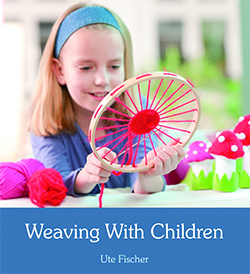
With the weather getting more wintery by the minute, we at Floris found ourselves in need of something pretty yet practical to keep our necks warm. So we decided to make these gorgeous scarves from Ute Fischer’s Weaving with Children book. Here’s how:
Materials and Tools
• Scarf mesh, black, 1.5 metres (just over 1½ yards) long, 18 cm (7 in) wide with 14 mesh rows
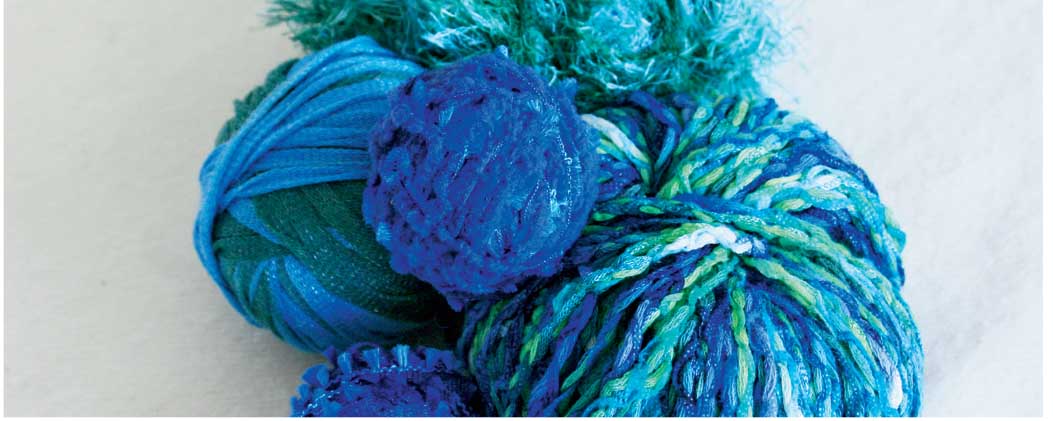
• Eyelash yarn remnants, different shades of blue and green
• Pom-pom edging, black, 2 cm x 9.5 cm (1 in x 3¾ in)
• Cotton-knit trim, black, 20 cm (8 in)
• Sewing thread, black
• Weaving needle
• Sewing needle
• Pins
 1. First, fold the scarf mesh in half lengthwise to make 7 double-mesh rows.
2. To weave, you will need 28 lengths of eyelash yarn, each 1.5 metres (just over 1½ yards) long, and a weaving needle.
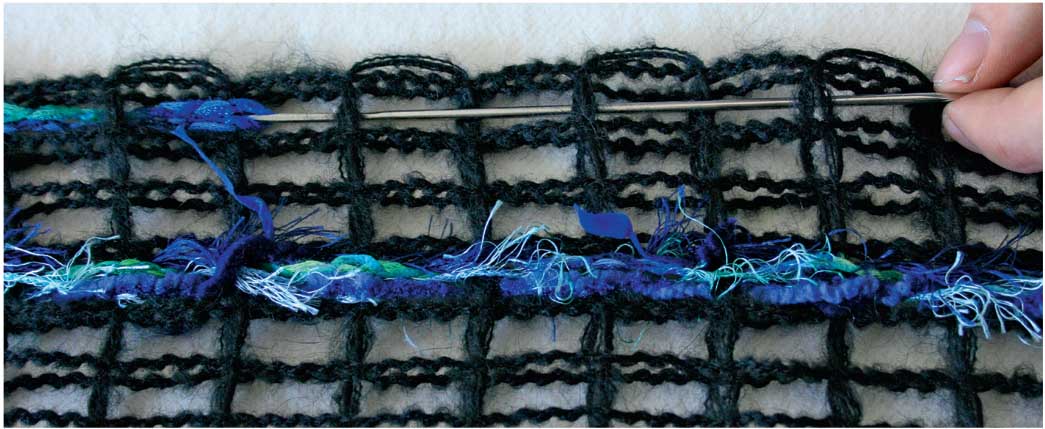
3. Choose an eyelash yarn and start weaving in the centre mesh row. Weave over and under the mesh yarns. Leave the eyelash yarn tails hanging loose.
4. Weave the second yarn in the same mesh row, but opposite to the first strand of your yarn; that is, weave under the mesh yarns that you just wove over and vice versa. Weave a third and fourth strand into the same row, always weaving opposite to the strand before. This completes the centre mesh row.
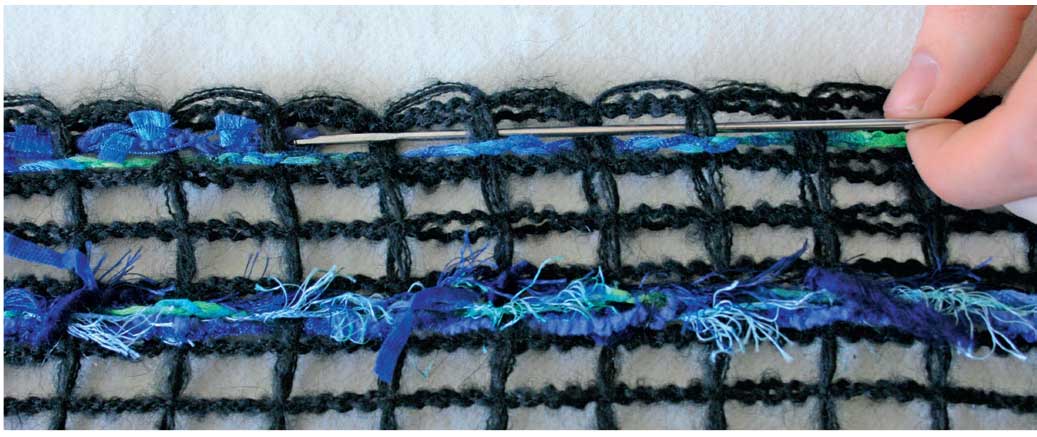
5. Now weave first the edge row, and then the remaining mesh rows, in the same way.
6. Carefully pull the scarf lengthwise to align the yarns. Trim the yarn tails back to the edge of the warp mesh.
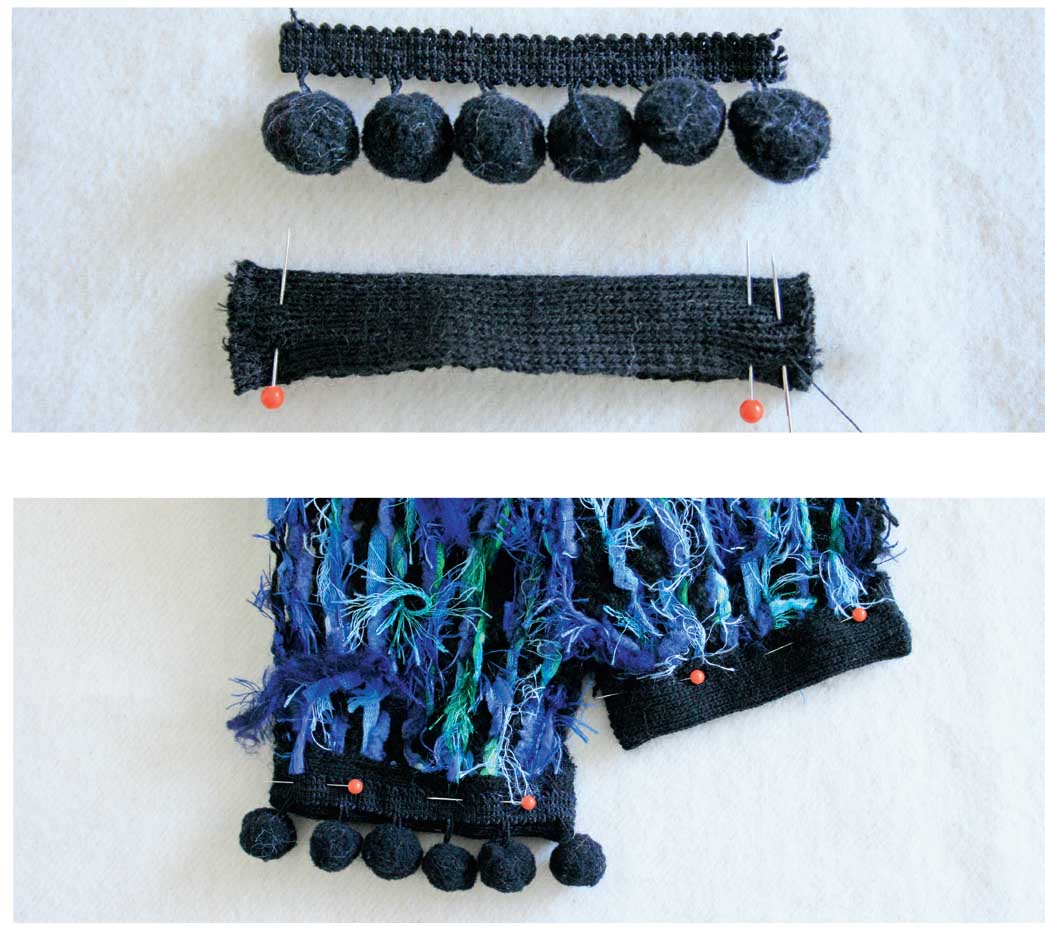
7. Cut the cotton-knit trim in half, fold both pieces in half, sew and turn right side out. Slip them over the end of the scarf, pin in place and sew tight with backstitch. You will need to push the needle through the cotton-knit trim and mesh and sew small stitches to make sure it all holds in place.

8. To finish, sew the pom-pom edging to the cotton-knit trim, along both the top and bottom edge.
Tip: This is a project you can do on the move, why not take it on a bus, train or aeroplane?
These cosy and stylish scarves are just one of the great projects in Weaving with Children. Why not try your own and post your pictures in the comments to let us know how you got on?