Make a Christmas Gnome Decoration
by Floris Books • 3 November 2025 • Christmas, Crafts & Activities • 0 Comments

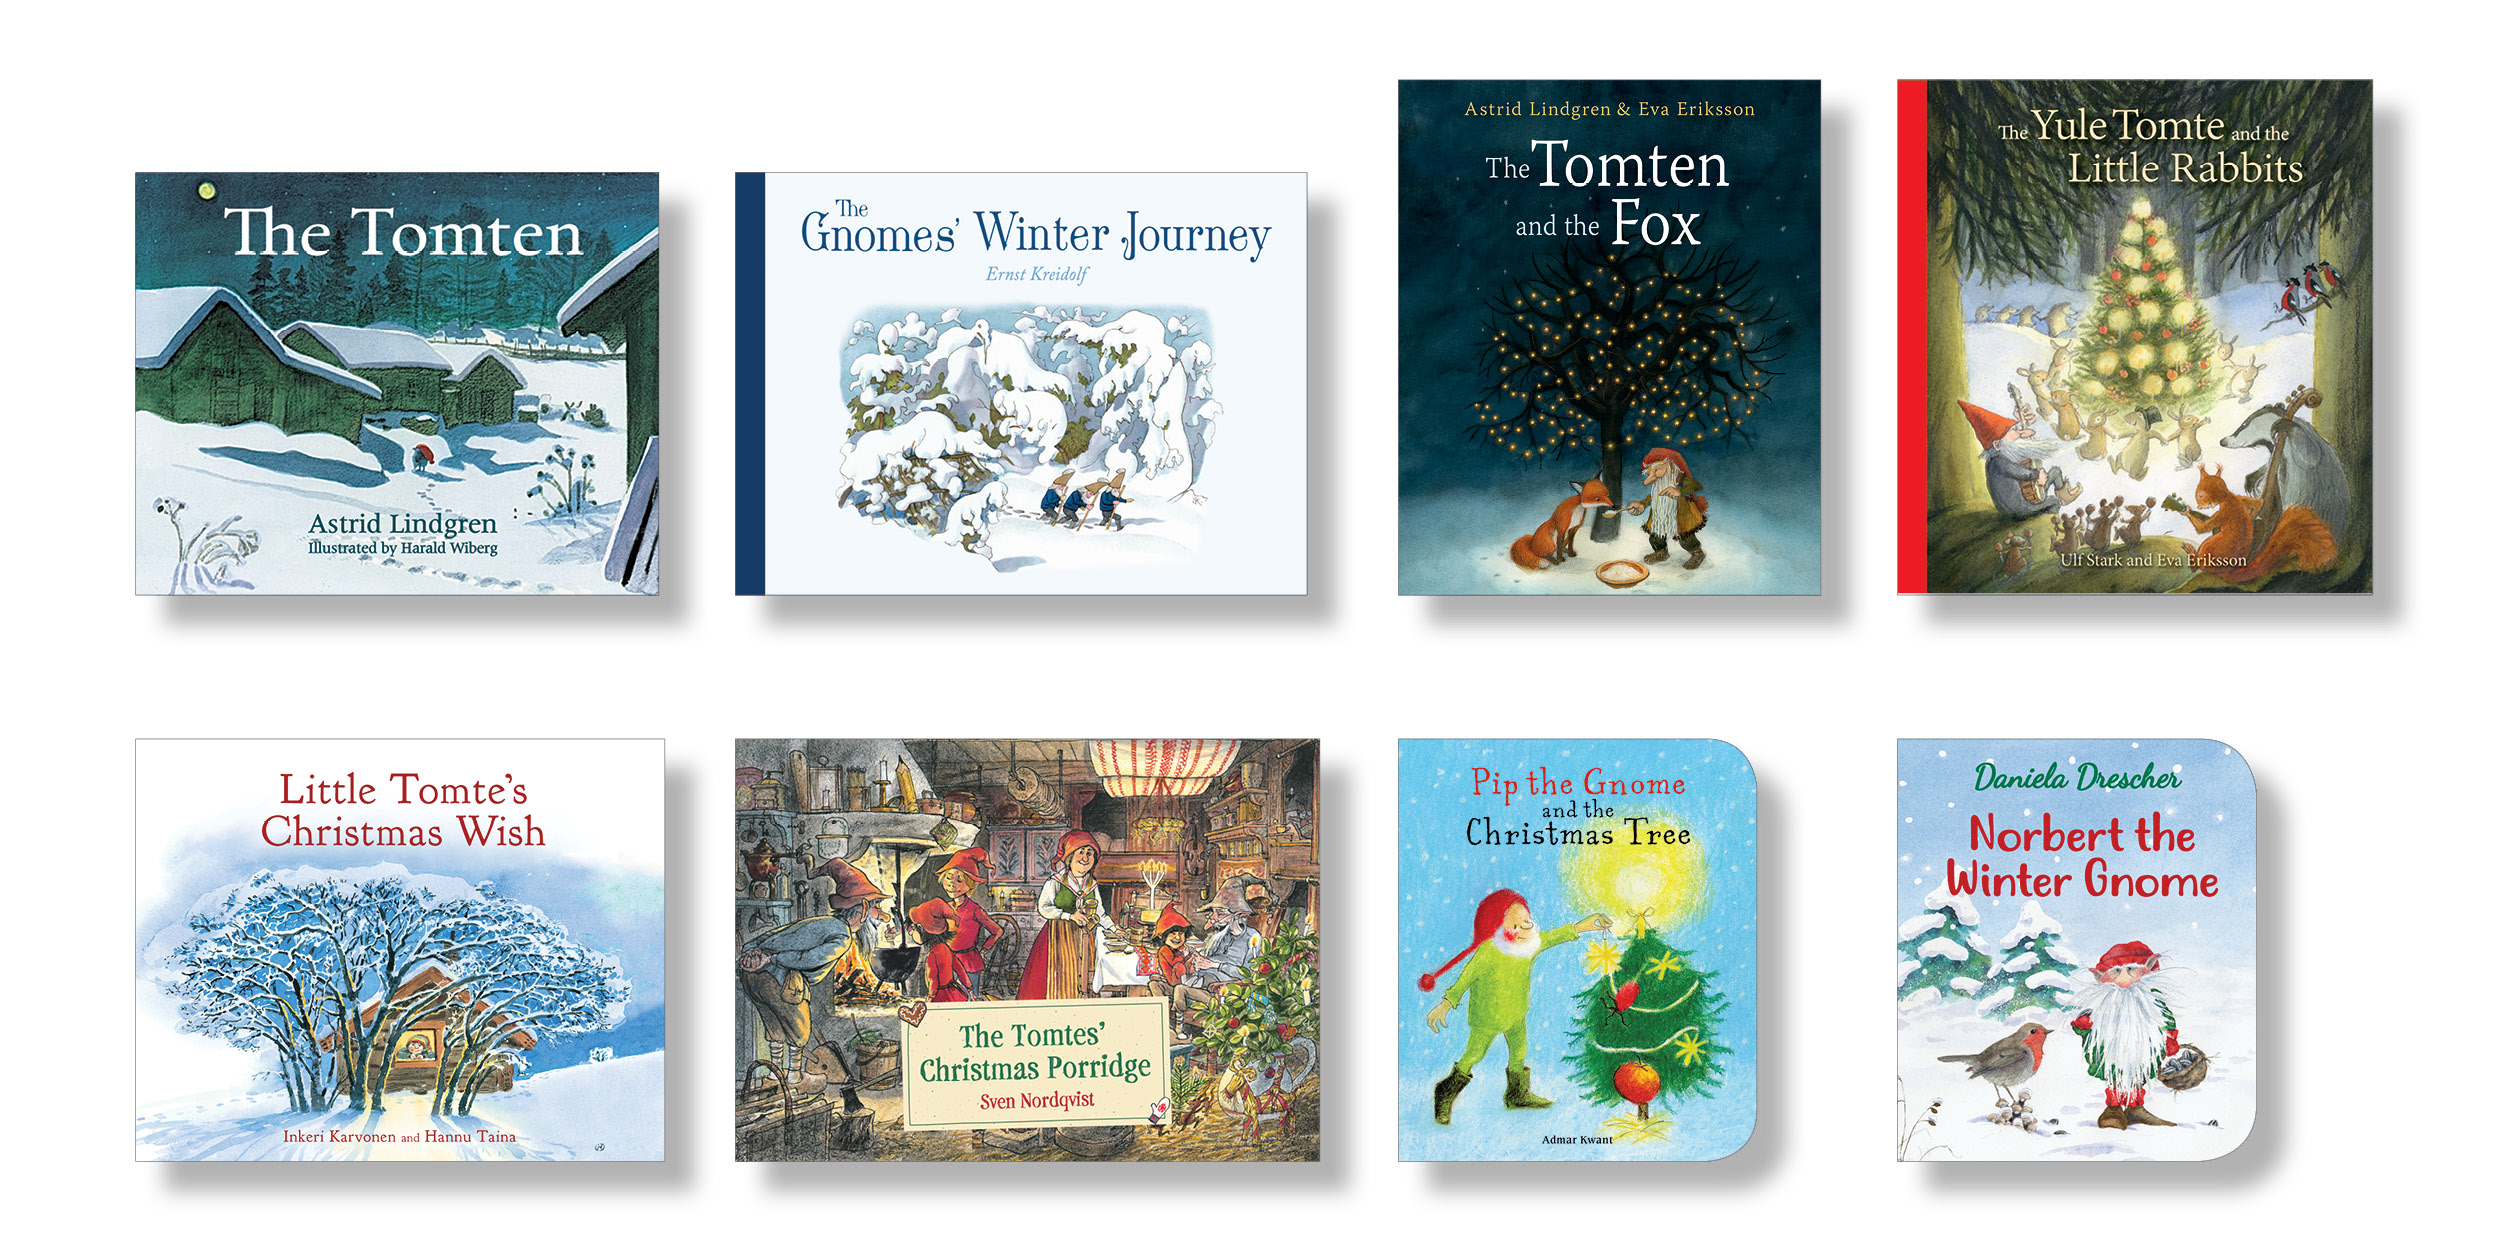
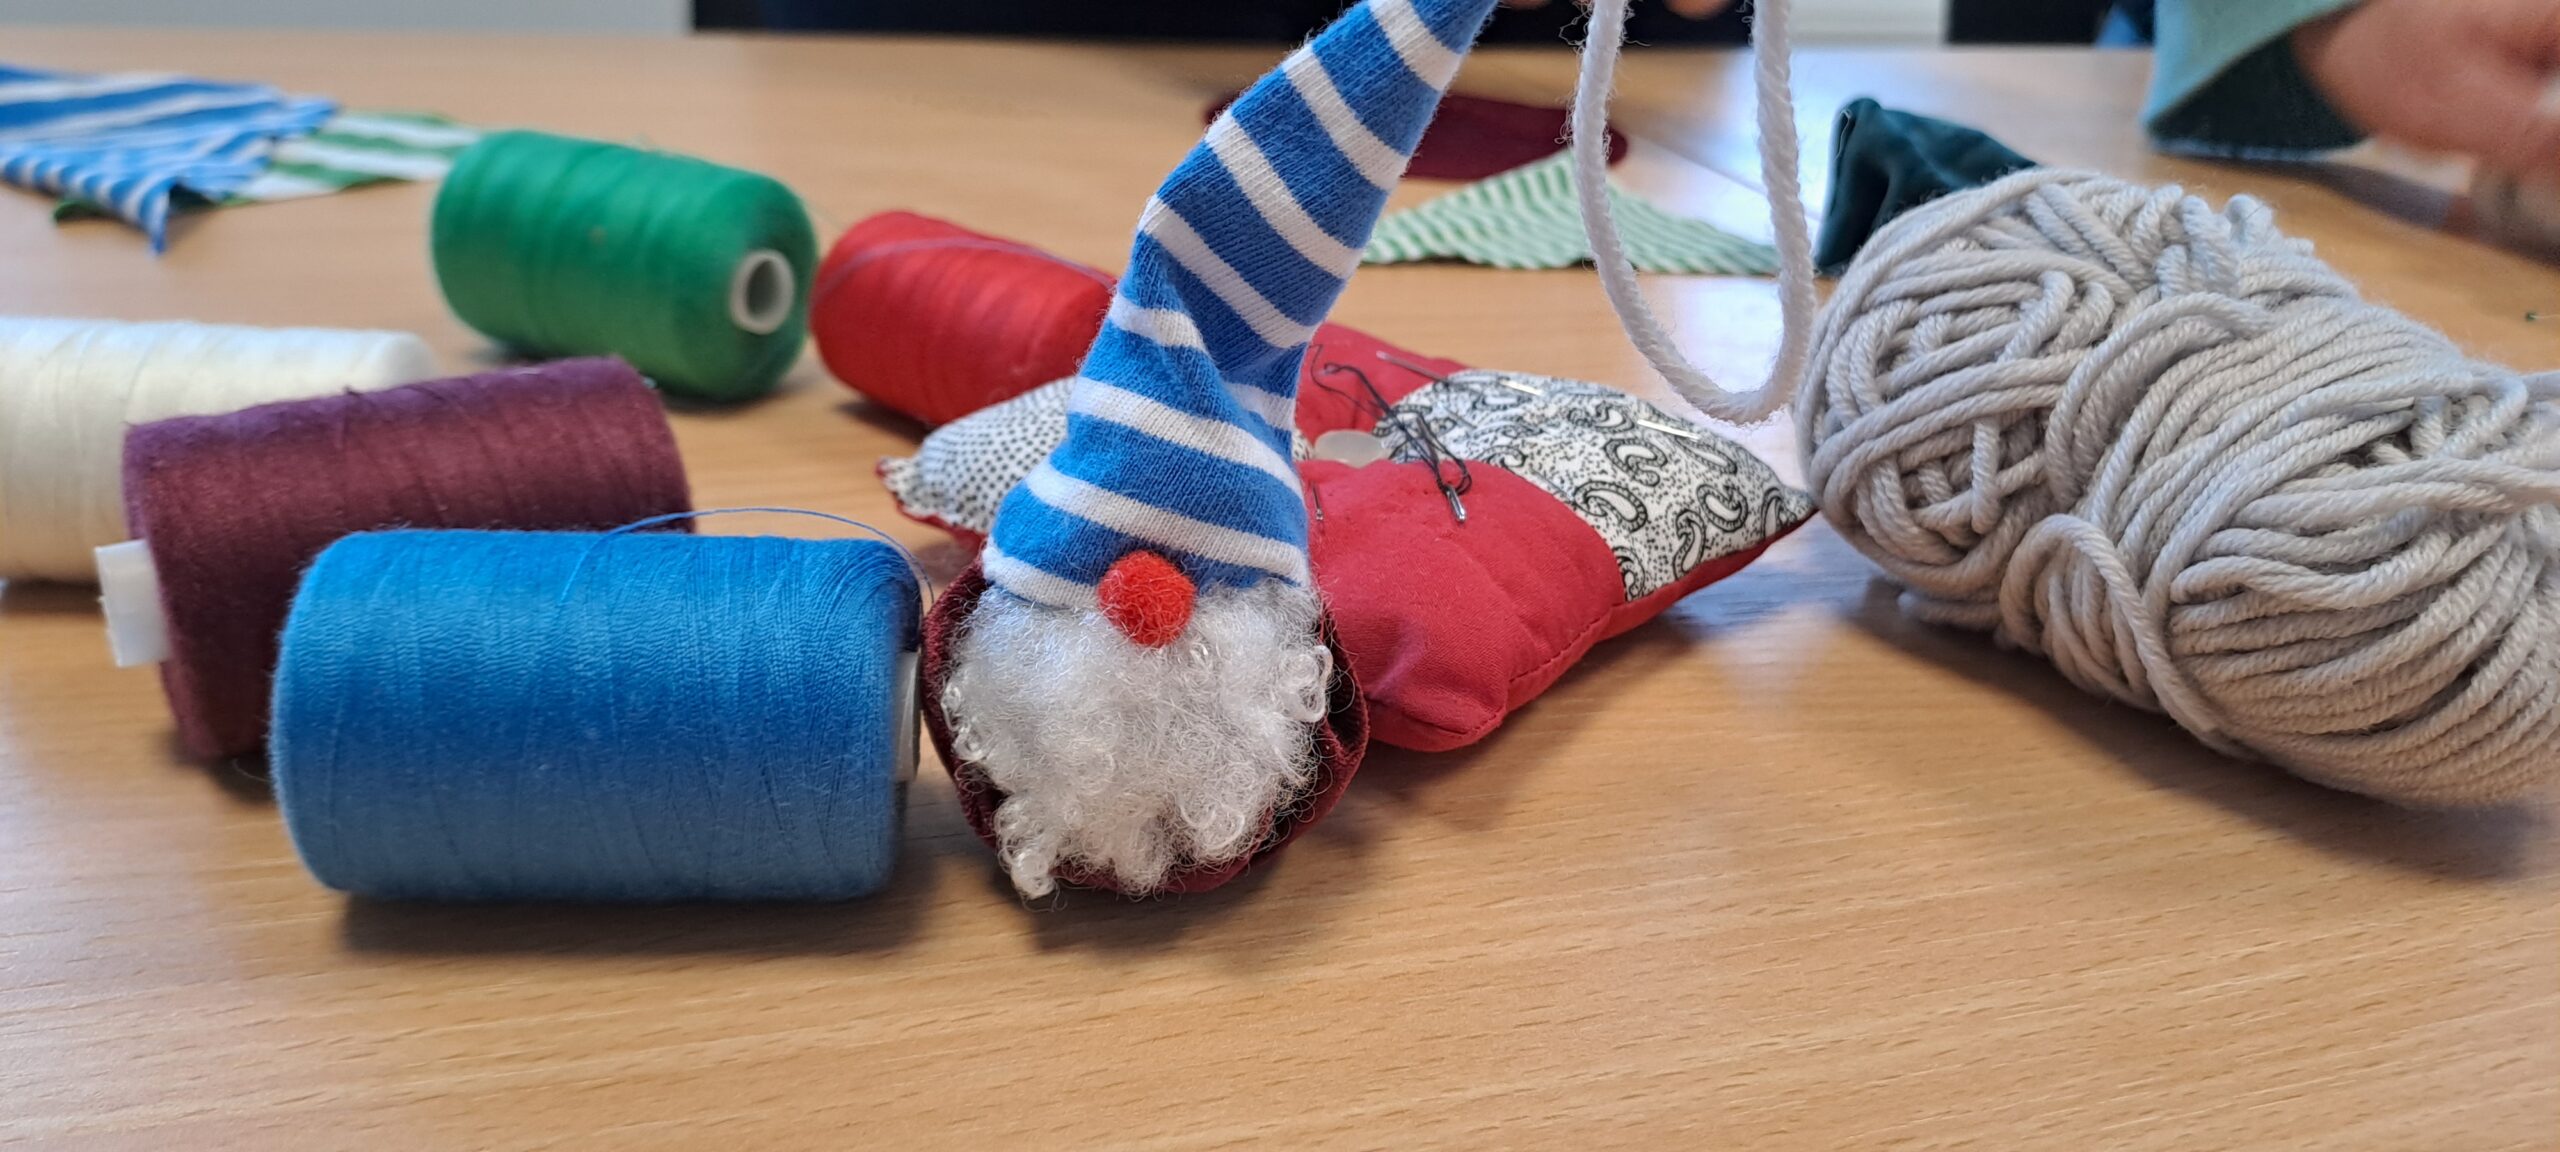
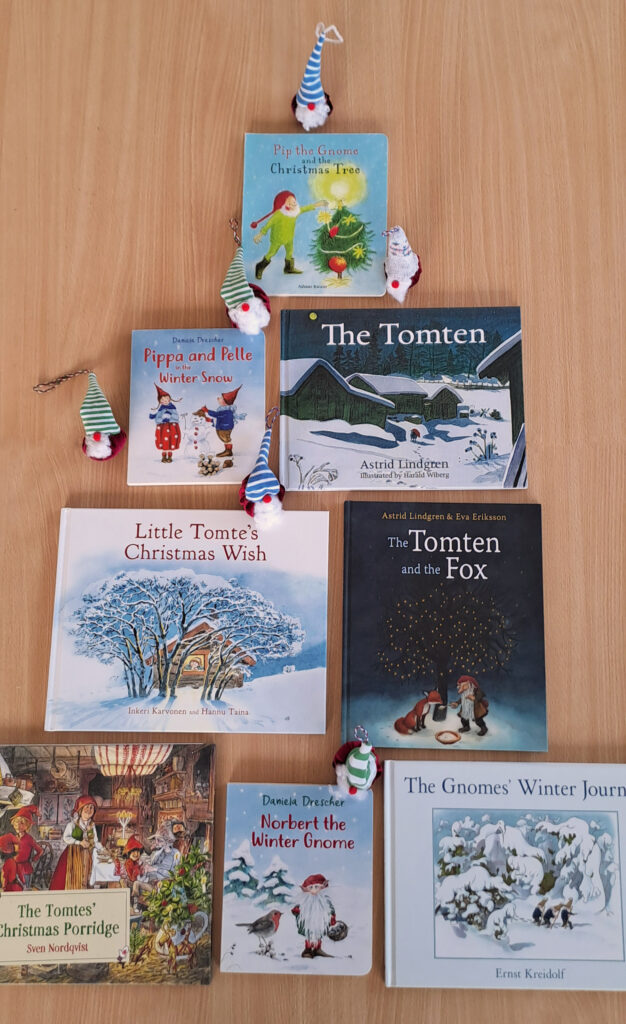
Make a simple Christmas gnome with us! This easy festive craft is a great way to reuse scrap materials and make an adorable decoration for your Christmas tree! You’ll also find plenty of gnomes or tomtes in our books – discover some of our gnome-tastic festive favourites at the end of the page.
You will need:
- A circle of scrap velvet for the body (13 cm diameter)
- A triangle of scrap fabric for the hat (12cm x 10 cm)
- Piece of string to hang
- Pillow stuffing for the body and beard
- Small felt ball (approx. 1 cm)
- Thread
- Needle
- Pins
Instructions:
Start by making the body
- Sew large stitches around the fabric circle, about 1 cm from the edge. This will make a bag shape.
- Stuff the bag with pillow stuffing, pull the thread and tie it together. Wrap the thread around and tie again to secure it.
Next, make the hat
- Lay the triangle face up and place the string in the centre to form a loop at the bottom with the ends sticking out slightly from the top. Fold the triangle in half and pin it in place.
- Starting from the top, sew the edge together. You can use a backstitch at the top to make the top more secure.
- Turn the hat inside out, carefully pulling on the loop.
Sew the gnome together
- Place the hat on top of the body. Sew the body and hat together by passing the needle into the body and out through the hat, tucking the edge of the hat as you go. Sew close to the seam so the stitches don’t show.
- Tuck the beard into the hat on the side opposite the seam. Continue to sew the hat and body together through the beard and round the rest of the gnome.
Style the beard and add the nose
- Finish by securing your stitches – you can stab to the back of the gnome, or just secure under the beard. Snip off any loose thread and your gnome is ready to hang up!
- If you have enough thread, stab the needle into the back of the gnome and pull it out through the beard. Secure the beard to the body and neaten it with a few stitches. Finish near the centre, where the nose will be.
- Place the nose just below the hat and secure it with a couple of stitches.
If you’re more of a visual learner, follow along with our tutorial video:
Gnome and Tomte books for Christmas